Manage Columns in Table View
In both Contacts and Transactions, the Table View displays columns of data by default. With the Manage Columns tool, you can easily customize which columns are visible and how they are ordered.
Using the Manage Columns function will allow you to chose what data and order you want it displayed to you. Not only will this provide the data you want to see to help you find what you're looking for, but it will also give you exactly the data points you need when you use the Export function
The Manage Columns works the same way whether you are looking at Contact or Transactions. The only difference is what columns you'll be able to chose from. Functionally, there is little difference. We will start with Contacts.
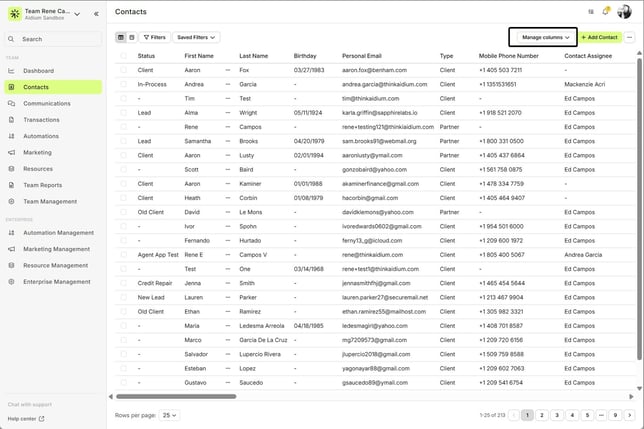
- When you're looking at Contacts in the Table View - Look to the far right for the 'Manage Columns' drop-down button.
- When the drop-down appears, you will see all the available columns or data fields you can add or remove. By looking at the toggle next to each, you'll see that they are ON when blue - OFF when gray.
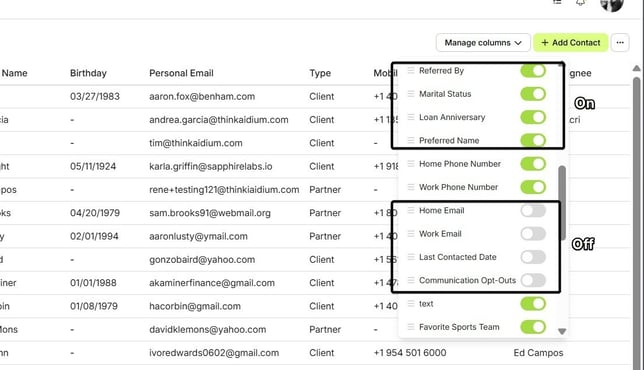
- To change the visibility of a column, click on the toggle. You will see it change state from ON to OFF - or - OFF to ON. Any change you make will happen instantaneously - there is no need to save or exit to see your changes. When complete, all you have to is either click the 'Manage columns' button again, or click outside of the drop-down.
- You can also re-order the visible columns. Look for the 'hamburger' icon to the left of each column or field name. Click on the column you want to move and drag it to the new position. You can move as many as you would like, one at a time. When complete, all you have to is either click the 'Manage columns' button again, or click outside of the drop-down. The animated GIF below will demonstrate changing the visibility toggle and changing the visible order of the columns.
- Additionally, in the Transactions and Tasks table view, it functions the same, but with different column or field names. The animated GIF below will demonstrate changing the visibility toggle and changing the visible order of the columns.
Your custom Transaction and Contact fields will also appear here and can be added, removed, or reordered just like the default fields.
👍 This concludes turning on and off, and reordering columns in Contacts and Transactions in table view.
Related Articles
Contacts - Table View vs. Pipeline View
There are two easy-to-change views within Contacts. Table View, for a customizable list of contacts for a traditional spreadsheet style experience. While Pipeline View provides you with pre-sorted previews of each contact according to their Status. ...Using Mass Actions in Contacts
Mass Actions allow you to efficiently make changes or send communications to multiple contacts at once. Whether it's exporting, deleting, reassigning, or sending mass emails, Mass Actions simplify bulk updates. Before diving into Mass Actions, it's ...Import Contacts with CSV or XLSX File - Lendware
Managing contact imports in Lendware is straightforward and can be done in just a few simple steps with some initial organization. Both CSV (Comma-Separated Values) and XLSX (Excel Spreadsheet) files are supported for import. CSV is a universally ...Exporting Contacts in Lendware
Lendware allows you to export all of your contacts with no export limit when using the correct selection option. Important: To export your full contact list, always use Select All Across Pages. Preparing your contact list for export Before exporting, ...Contact View – Related Contacts Tab
The Related Contacts tab in the new contact view makes it easy to link any contact to another using a relationship type. This helps your team quickly understand connections, keep track of referrals and partners, and streamline communication. There’s ...