Create and Save Transaction Filters
Creating and saving commonly used transaction filters can save time and streamline your team’s processes. Filters help with repeatable tasks, re-targeting, check-ins, and pipeline reporting. In this guide, we’ll show you how to create basic transaction filters and save them for future use.
If you'd like more detailed information on filtering, here are some additional resources:
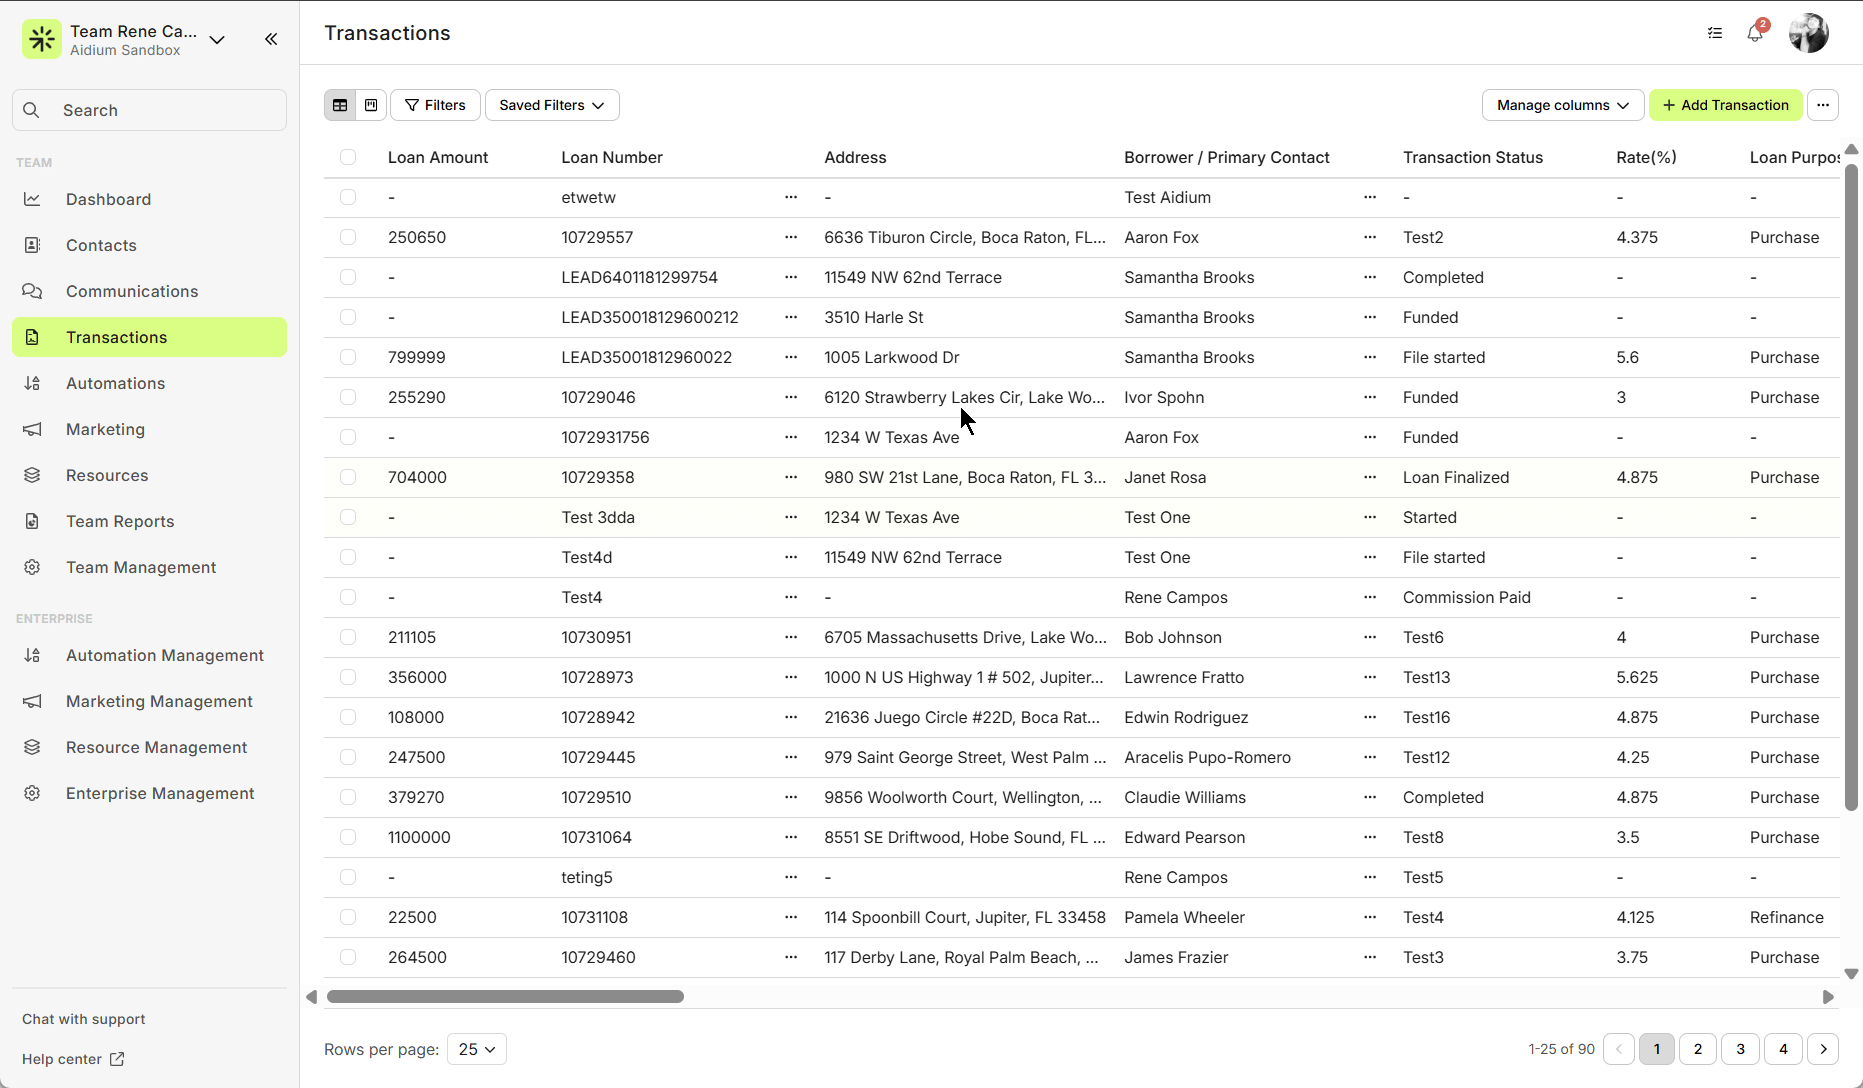
To begin, go to the Transactions page by clicking 'Transactions' in the left menu group.
Follow along, or skip to any section of this article:
- Create and Save a New Filter
- Apply a Saved Filter
- Managing Saved Filters
Create and Save a New Filter
Go to the Transactions Page
Click Transactions in the left-hand menu.
Access Filters
In the table view, you’ll see two buttons at the top:
Filters → create, apply, and save new filters
Saved Filters → access filters you’ve already saved
Add Filter Criteria
Click Filters, then + Add Filter Criteria.
Example: Let’s filter for:
Status = Loan Finalized
Property State = FL - Florida
Apply or Save
Choose Apply to see the results right away.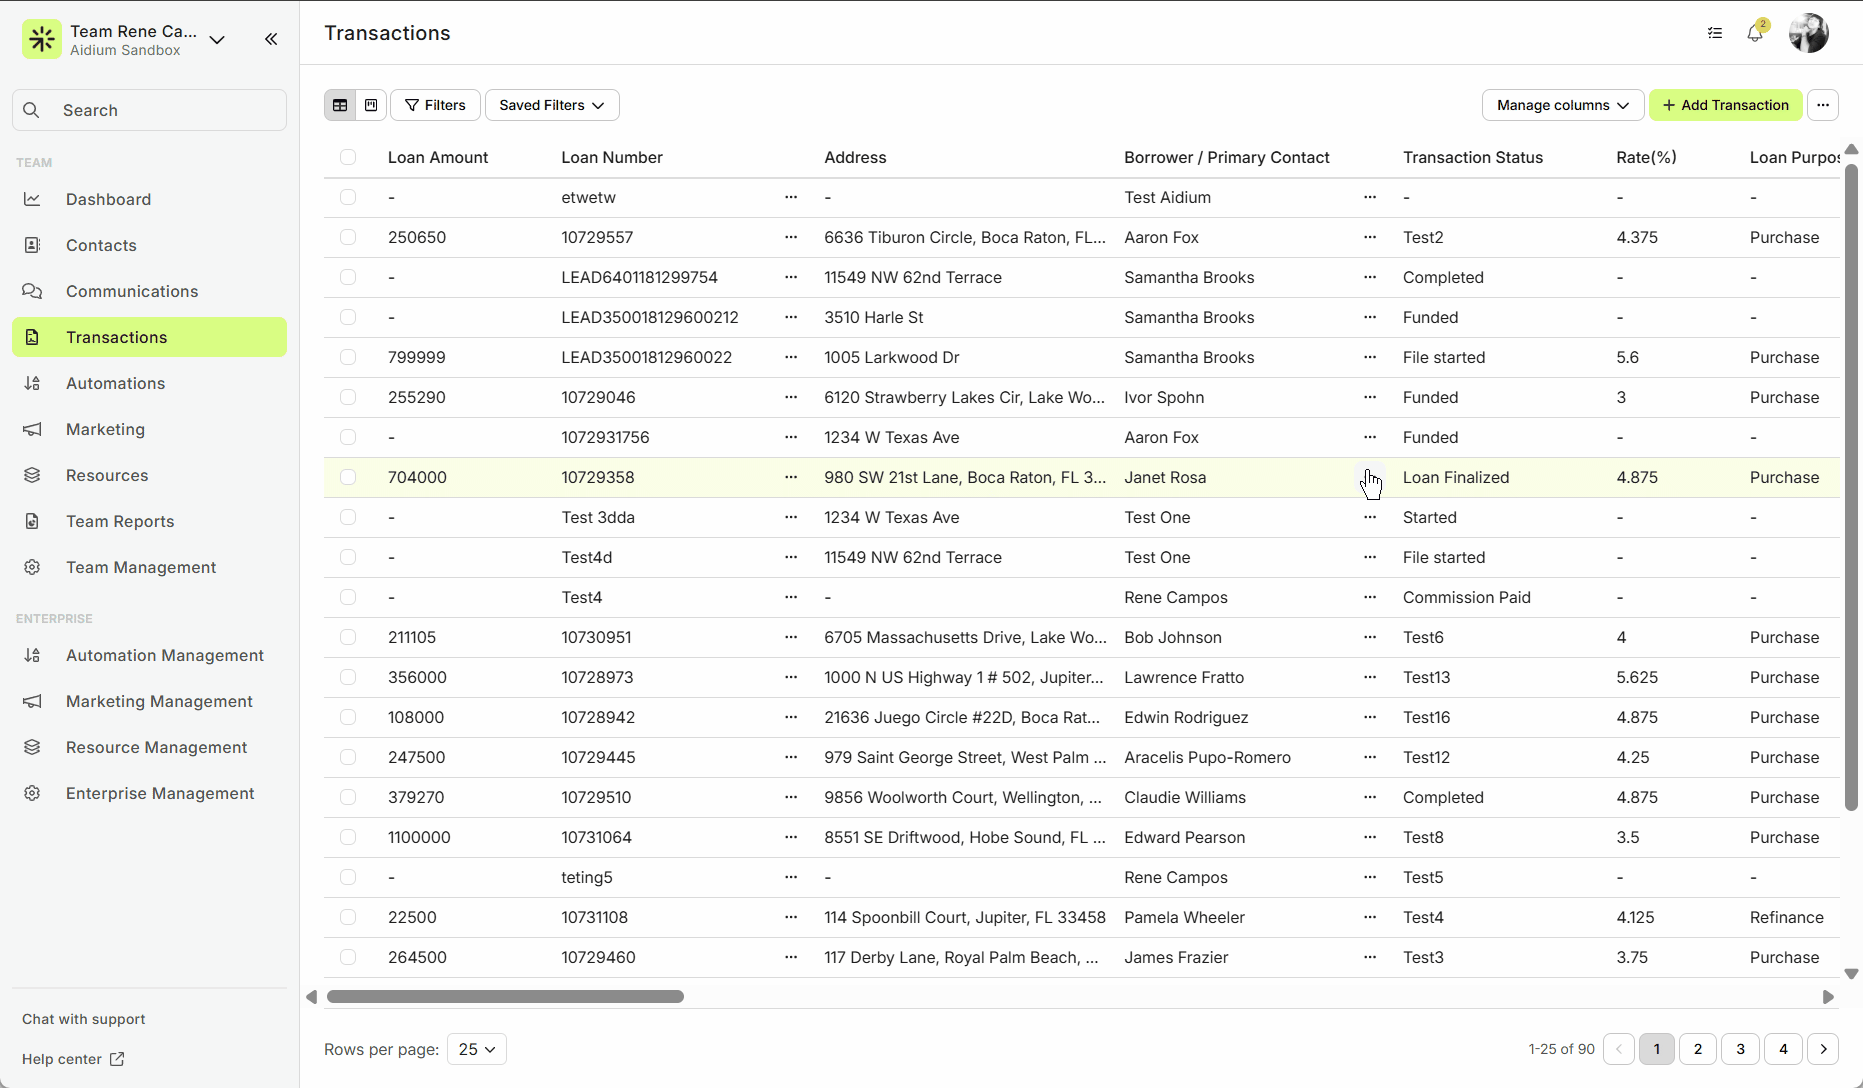
Or choose Save Filter to name and save it for future use.
Tip: Use a clear name so you’ll recognize it later.
View Results
After saving, click Apply to see your filtered transactions.
Apply a Saved Filter
Click Saved Filters to see your list of saved options.
Select the filter you want. You’ll see the filter’s name and a quick preview of its criteria.
Example: A filter named UW - Wyoming with criteria:
Status = Loan Finalized
State = WY - Wyoming
You can always adjust filters by clicking Filters — changes won’t affect the saved version.
To clear everything, click Clear All.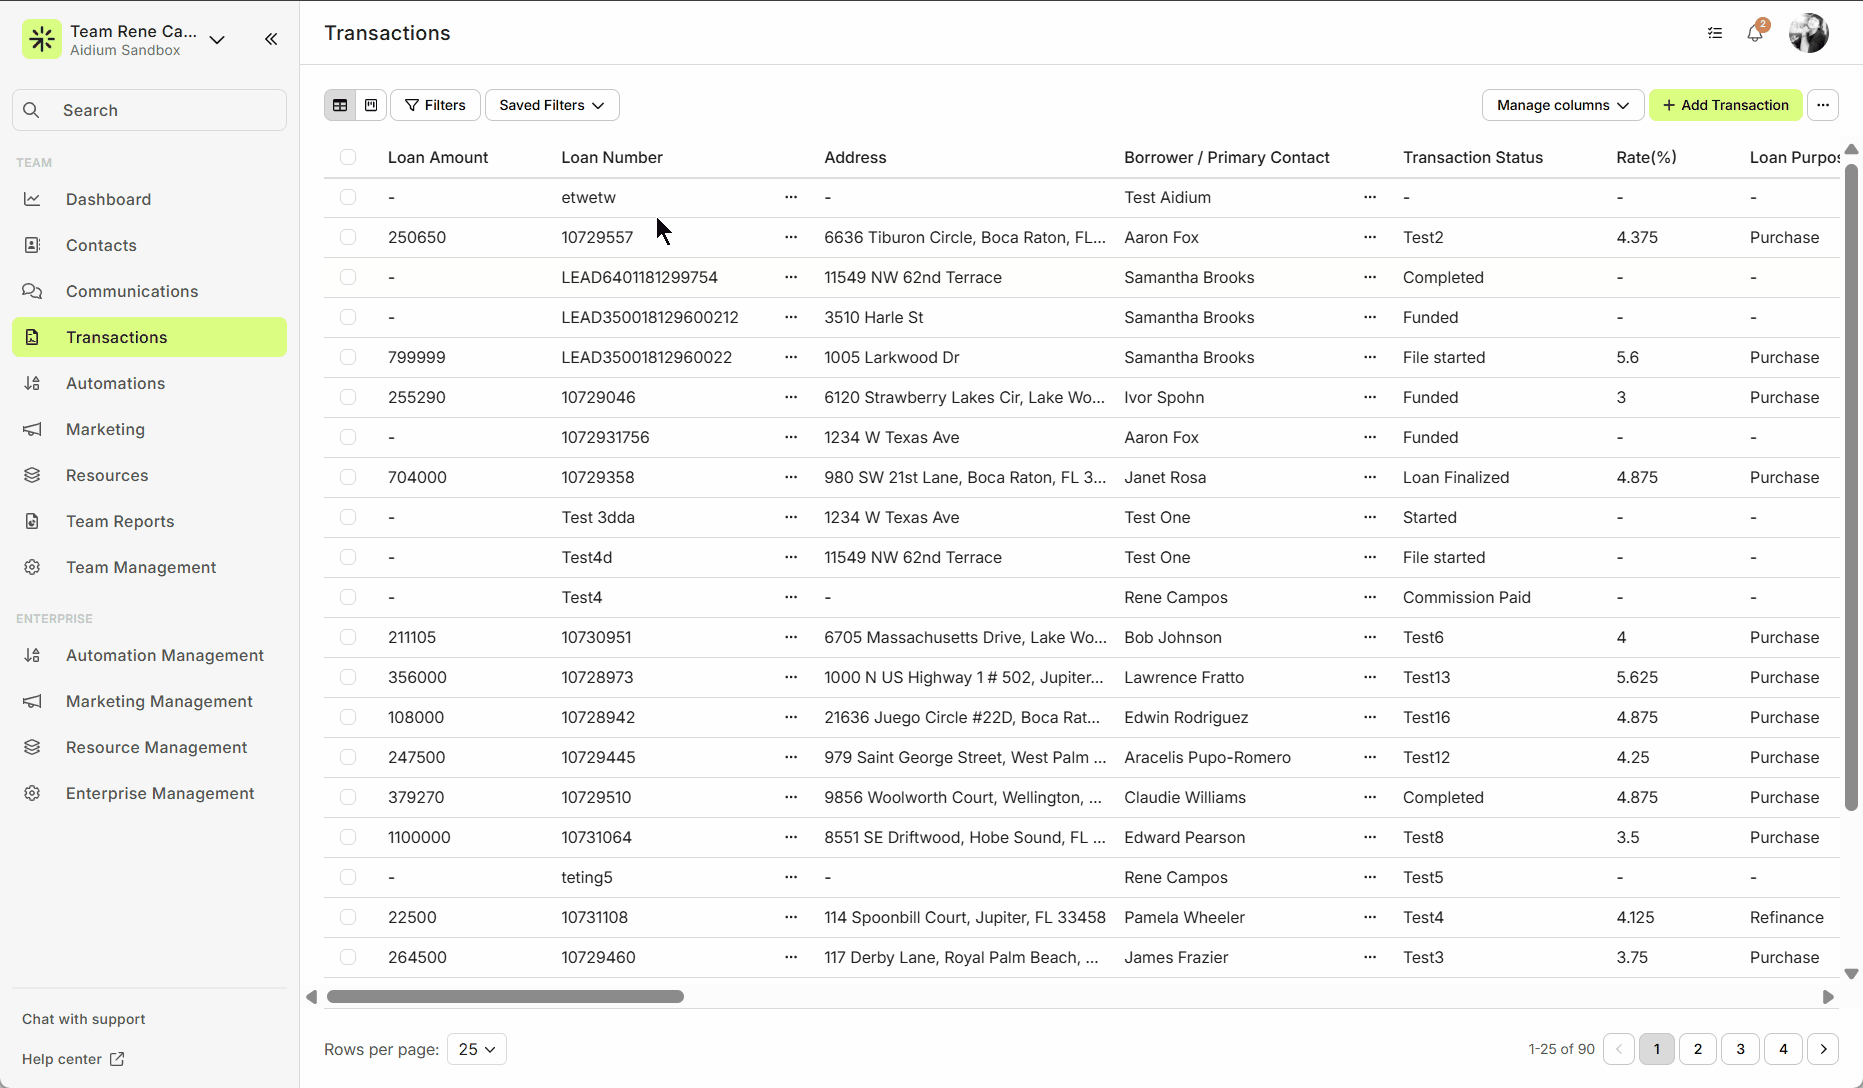
Manage Saved Filters
Over time, you may want to clean up filters you no longer use.
Go to Saved Filters → Manage Saved Filters.
A slide-out will appear where you can:
Delete a filter (trashcan icon)
Load a filter (Load button)
🚨 Once the filter name is saved, it cannot be changed. Be sure to choose a name you'll be comfortable with long-term.
Related Articles
Transactions Introduction and Walk-through
The Transactions page is your hub for managing all loan data. You can sort, filter, search, and customize how information is displayed. Transactions can be synced automatically from your LOS, added via Zapier, or created manually. Get to know ...How to Filter Your Transactions
Filtering Transactions is a quick and effective way to narrow down what you see, whether you're using Table View or Pipeline View. Filtering Transactions works in a very similar way as Filtering Contacts. You're simply filtering for different fields. ...Transactions – Table View vs. Pipeline View
There are two easy-to-change views within Transactions. Table View, for a customizable list of contacts for a traditional spreadsheet style experience. While Pipeline View provides you with pre-sorted previews of each transaction based on Status. ...Using Custom Transaction Fields
Default fields are great for capturing standardized information to help identify and understand each transaction in your database. But often, you and your team may want to track additional details specific to your process. That’s where Custom ...Transaction Import Template
The Transaction Import Template is the standardized spreadsheet used to create or update transactions inside Lendware. This template ensures your data maps correctly to the system and prevents upload errors. Below is a step-by-step guide on how to ...